

Handprint Spider Craft
This Handprint Spider Craft is a fun and simple Halloween project for toddlers, preschoolers, and even kindergarten kids. Using just colored craft paper, scissors, and glue, you can create a spooky-cute spider with handprint legs and a paper spider web.
This step-by-step guide makes it easy for parents, teachers, or caregivers to set up a mess-free activity that boosts fine motor skills, encourages creativity, and ties into Halloween week activities for toddlers. It’s also perfect for October handprint art, Friday the 13th crafts, and spooky crafts for preschool and kindergarten classrooms.
Have you ever sat with your toddler on a rainy October afternoon, searching for something fun (and not too messy) to do? Last year, on the Friday before Halloween, my little one came home from preschool talking about “spider hands.” I had no idea what she meant until we tried this Handprint Spider Craft together. The giggles, the glue on tiny fingers, the proud smile when she saw her “spooky spider” hanging in the window… I knew we had found a new Halloween tradition.
That’s the magic of these simple projects: they don’t just fill time, they create memories. This handprint spider craft is fun, easy, and best of all, toddlers think it’s spooky-cool without being scary. Let’s get into it step by step!
Pin This Post For Later:
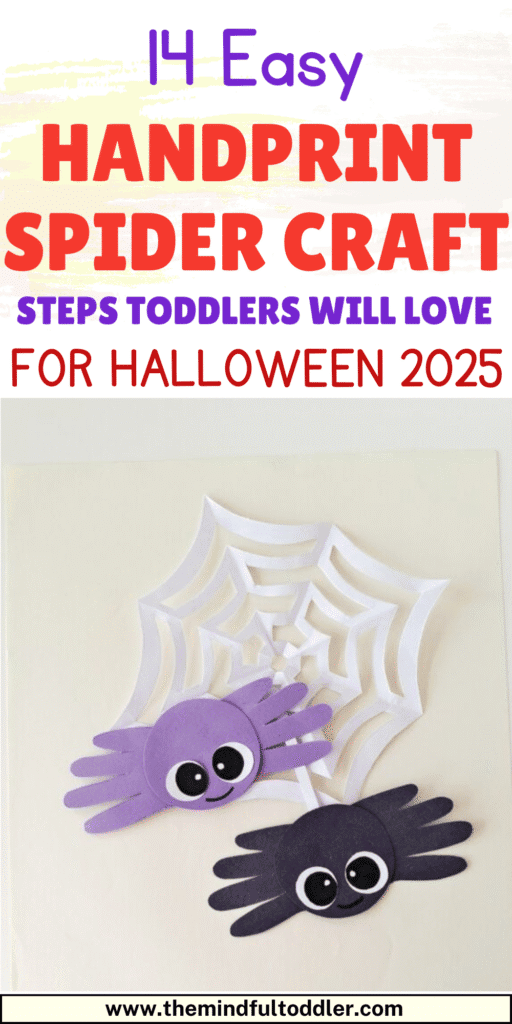
Supplies You’ll Need for Handprint Spider Craft
Gathering everything ahead of time makes this activity smooth, especially when working with toddlers or preschoolers. Here’s what you’ll need for the handprint spider craft:
Colored craft paper (black, white, orange, purple)
Pencil
Scissors (child-safe if possible)
Craft glue
Black sharpie
With these simple supplies ready, you’ll have everything you need to make a fun and easy handprint spider craft. Gather them ahead of time so kids can jump right into the activity without delays.

Step-by-Step Guide: Handprint Spider Craft Instructions
Step 1: Prepare Your Paper
Start with a square piece of white craft paper, about 9” x 9”. If you don’t have one, simply cut a rectangle sheet into a square. This will be the base for your spider web.
Step 2: First Fold – Vertical
Fold the square paper in half vertically (top to bottom). Make sure the edges line up neatly and press down firmly to create a sharp crease.
Step 3: Second Fold – Horizontal
Now fold that rectangle in half horizontally. You should end up with a smaller square. Smooth out the folds with your hand so the paper stays flat.
Step 4: Third Fold – Diagonal
Take the folded paper and fold it once more diagonally from the closed corner. This step gives you the triangle shape where you’ll draw your web.
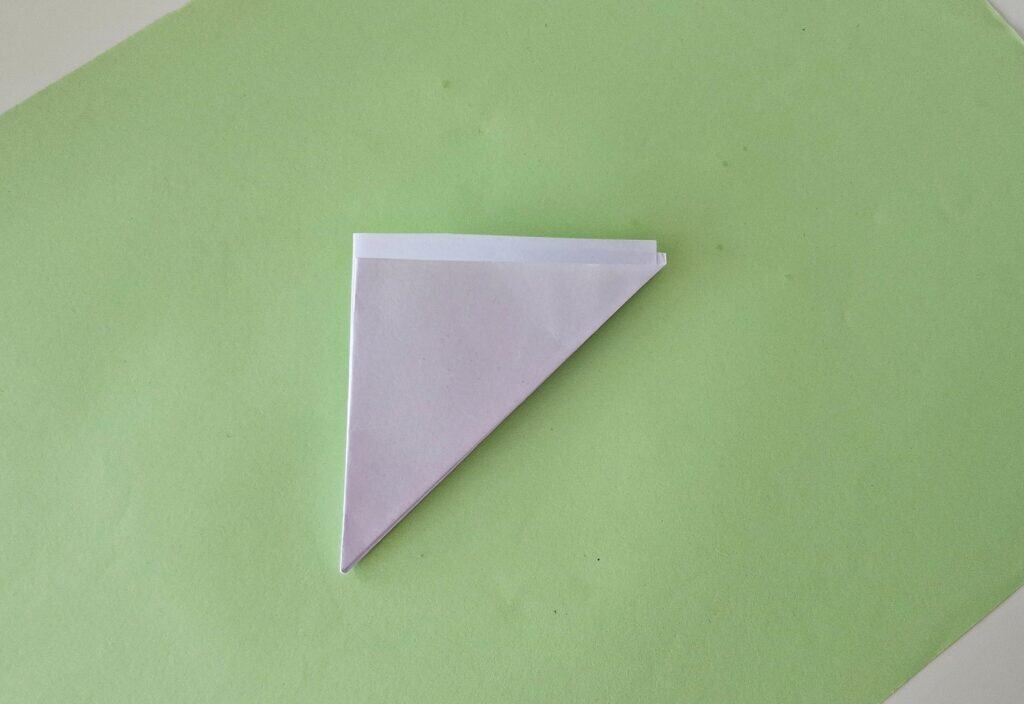
Step 5: Draw the Spider Web
Using the spider web template, lightly sketch the web design onto the folded paper with a pencil. If you don’t have the template, draw a few curved lines across the triangle and add small connecting lines. This becomes the “cut-out” part of the web.
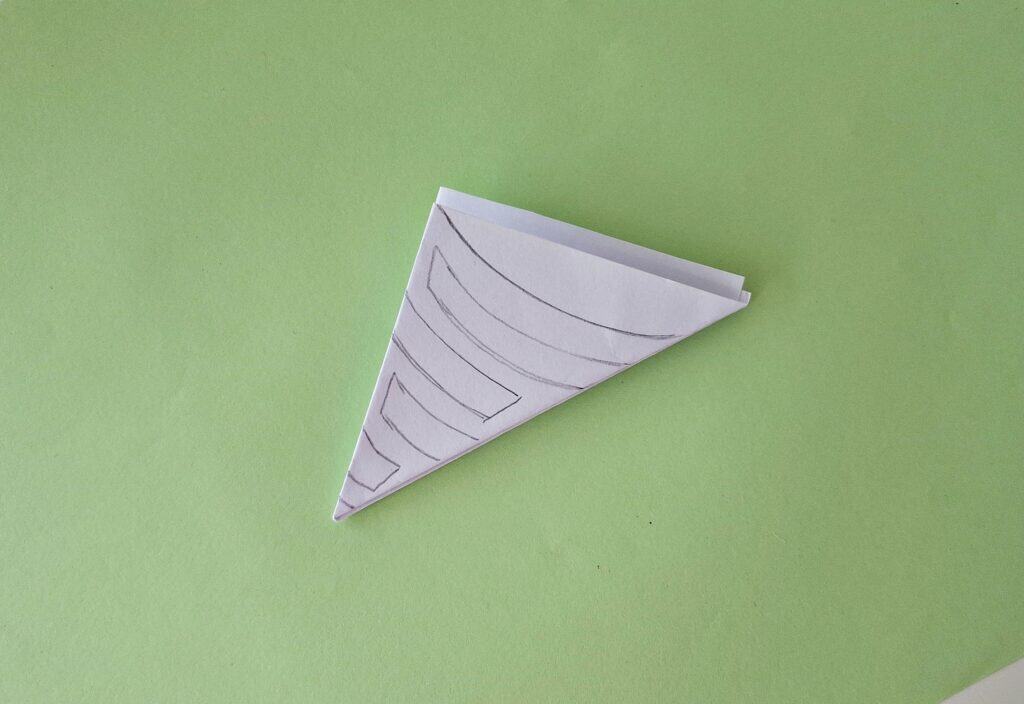
Step 6: Cut Out the Web
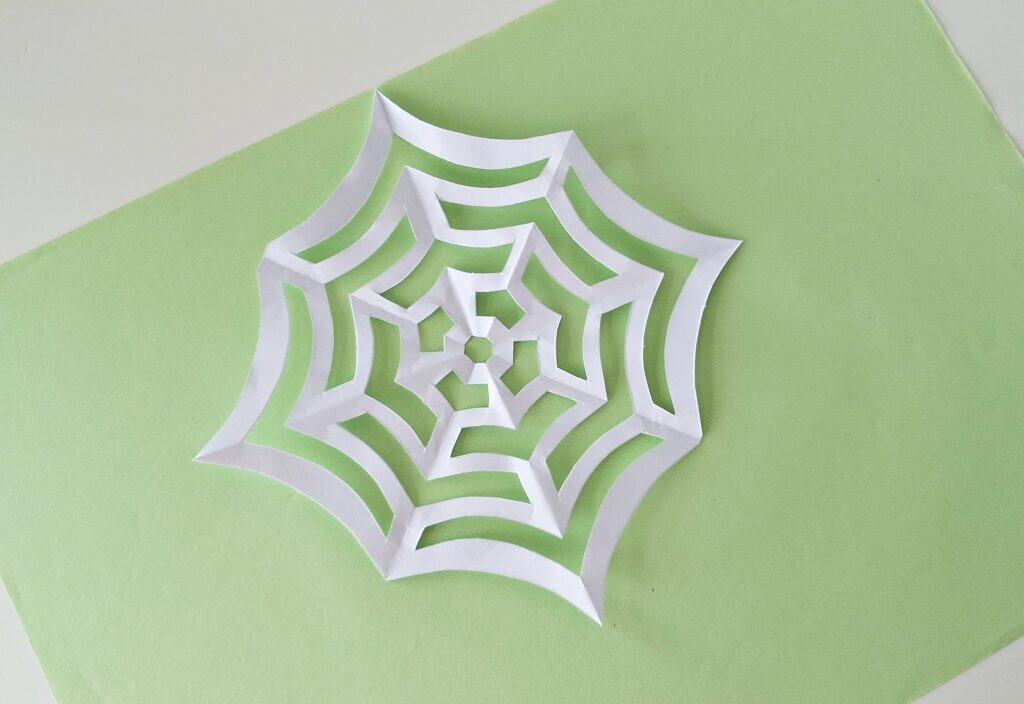
Carefully use scissors to cut along the yellow shaded parts (from the template) or your pencil lines. This part might need a grown-up’s help if your toddler is still learning scissors skills.
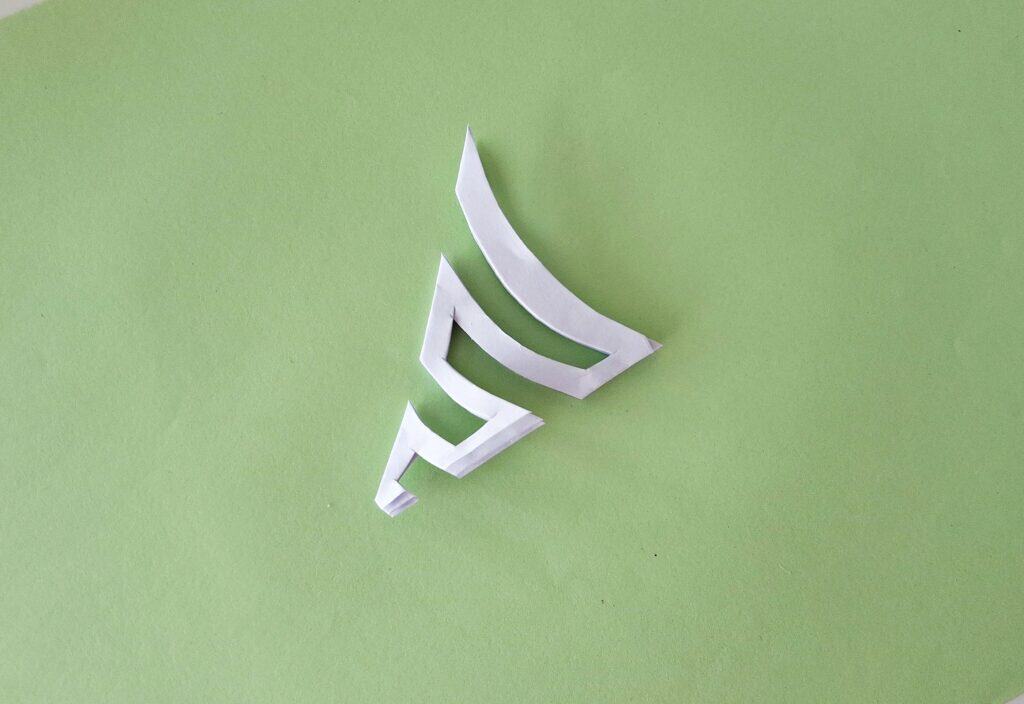
Step 7: Unfold the Web
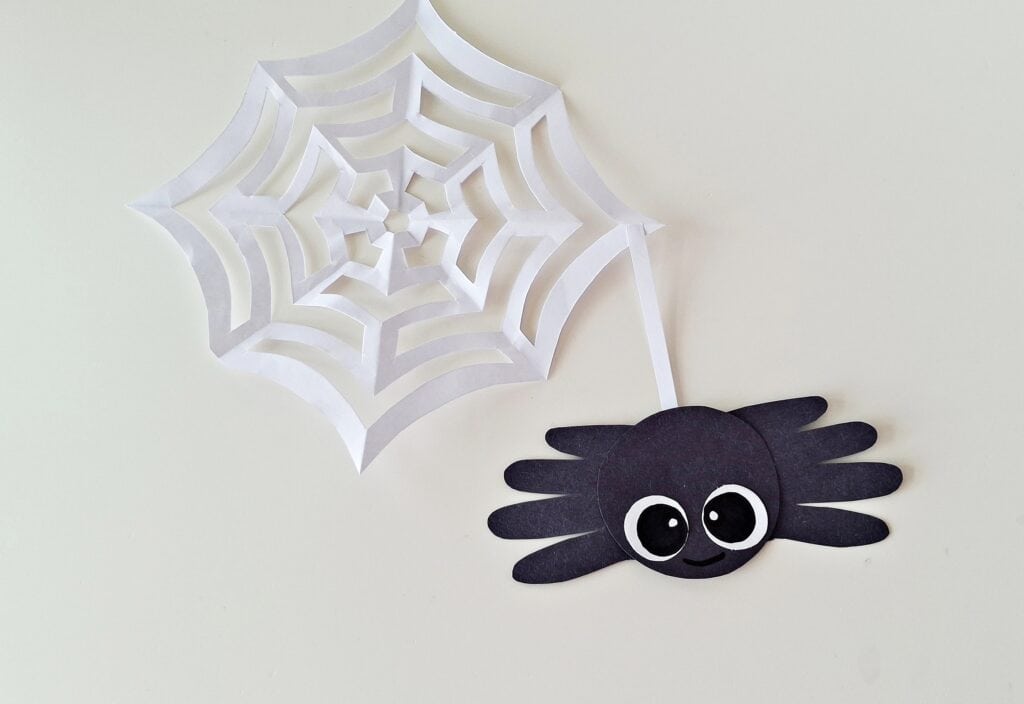
Once you’ve finished cutting, gently unfold the paper. Like magic, you’ll have a spider web design! Lay it flat on the table and set it aside for now.
Step 8: Trace the Handprints
Pick a piece of thick black or purple craft paper. Place your child’s hand on the paper and trace around it with a pencil. Repeat for the second hand. These handprints will form the spider’s legs.
Step 9: Cut Out the Handprints
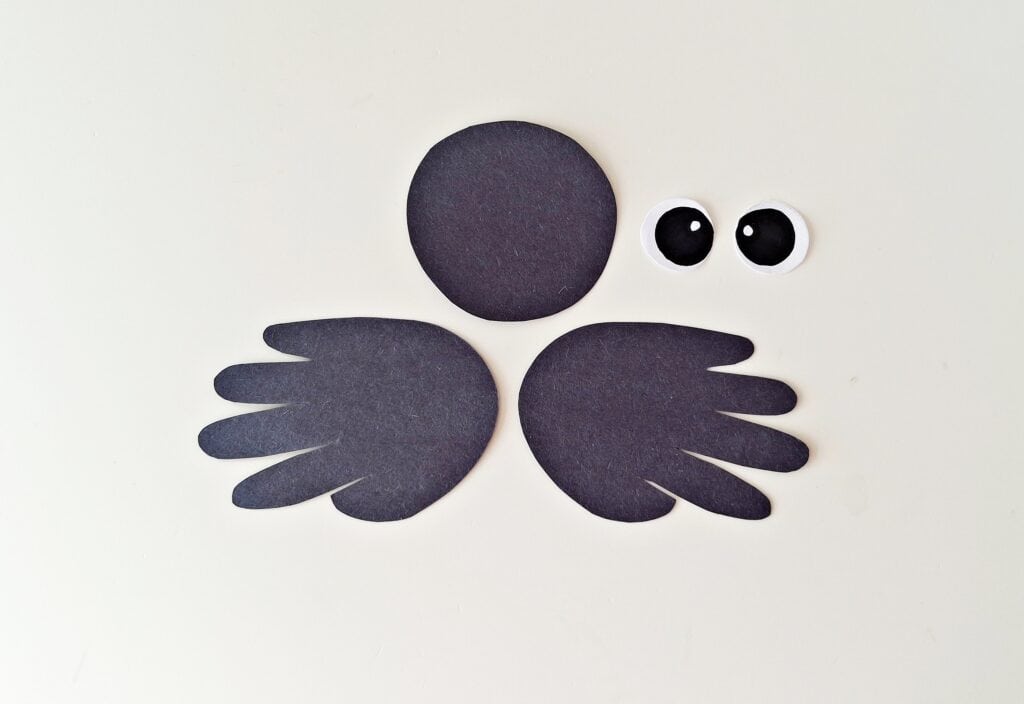
Carefully cut out both handprints. For younger kids, an adult can help here. To make the spider shape work, trim off the thumbs from both cutouts; this way, each hand has four fingers that look like spider legs.
Step 10: Join the Handprints
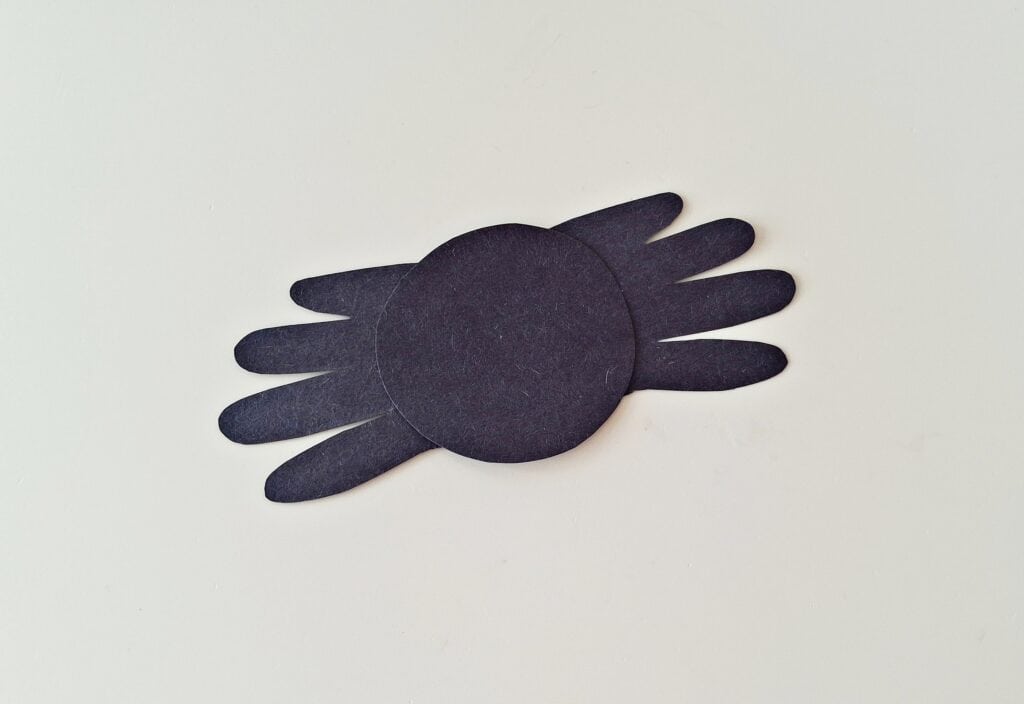
Overlap the palms of the handprint cutouts slightly and glue them together. When arranged this way, the fingers fan out and look just like spider legs spreading in all directions.
Step 11: Make the Spider’s Head
Cut out a medium-sized circle (or oval) from black paper. This will be the spider’s head. Glue it right on top of the overlapped palms where the hands meet.
Step 12: Add the Face
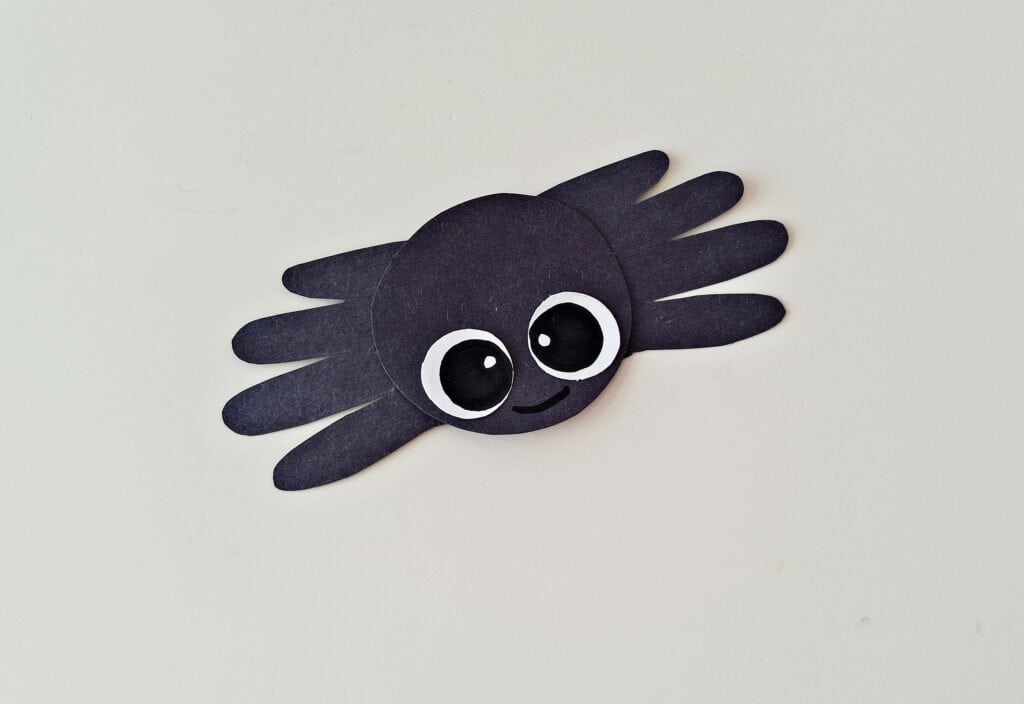
Cut out two small white circles for eyes (or use googly eyes if you have them!). Draw pupils with a Sharpie. Glue them near the bottom of the spider’s head. Use the black sharpie to draw a happy smile or a little spooky grin below the eyes.
Step 13: Attach the Spider to the Web
Cut a thin strip of white paper to act like “web silk.” Glue one end of the strip to the top of the spider’s head, and the other end to the middle of your folded spider web craft. This makes it look like your spider is dangling down on its web!
Step 14: Let It Dry & Display
Give the craft a few minutes to dry so everything sticks properly. Once it’s ready, you can hang it on the fridge, your child’s bedroom wall, or in the classroom for a Halloween handprint art display.
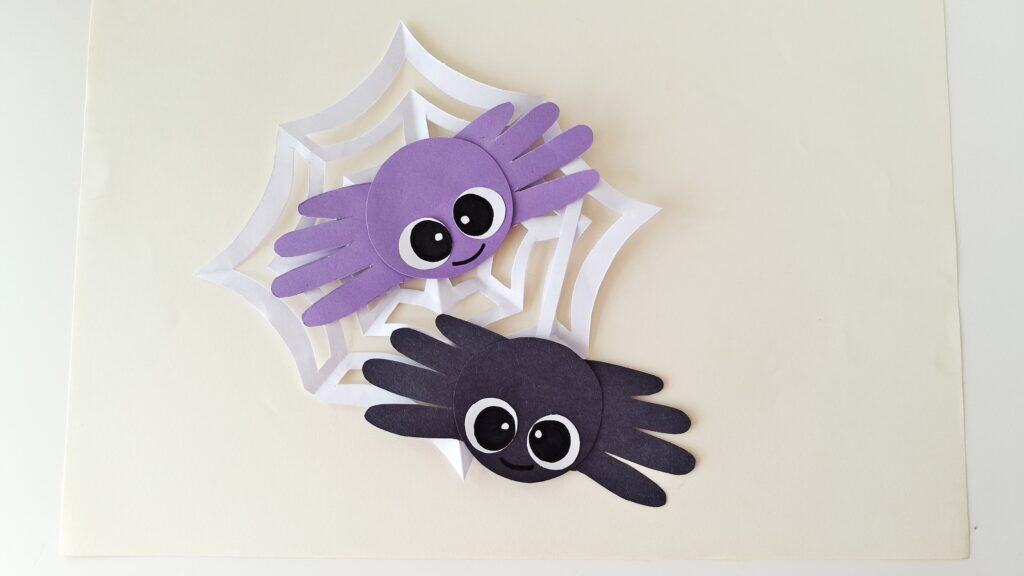
Extra tip: If you want to keep it as a memory, write your child’s name and the year on the back of the spider head before hanging it. That way, you’ll always remember how tiny their hands once were!
What the Colors Represent + Seasons & Occasions
- Black: spooky Halloween vibes, great for October handprint art.
- Orange: represents pumpkins and harvest, matching pumpkin handprint art.
- Purple: adds a fun, mystical touch for prek Halloween crafts easy.
- White: makes the spider web pop for contrast.
Occasions this fits best:
- Halloween parties at preschool/kindergarten
- Friday the 13th crafts for toddlers
- Halloween week activities for toddlers
- Spooky crafts for kids’ playdates
Why Kids Love Spider Handprint Crafts
- Simple, hands-on, and tactile (great spider crafts for toddlers).
- Encourages creativity in preschool spider crafts and spider crafts kindergarten.
- A keepsake to look back on—tiny handprints are priceless.
- Mess-free compared to paint-heavy Halloween handprint art.
Benefits of Handprint Crafts for Toddlers
- Builds fine motor skills (cutting, gluing, tracing).
- Encourages imaginative play with “spider hands.”
- Introduces seasonal fun: Halloween art toddlers easy.
- Makes learning playful with projects to do with infants and older siblings.
More Spider Crafts & Halloween Ideas
- Ghost Handprint Craft – easy alternative for spooky fun.
- Pumpkin Handprint Art – a fall keepsake for toddlers.
- Spider Web Craft – standalone activity with only folding and cutting.
- Halloween Spider Craft – more detailed version for older kids.
FAQ: Handprint Spider Craft
What age is this handprint spider craft suitable for?
Perfect for crafts to do with two-year-olds, toddlers, preschoolers, and even spider crafts for infants (with adult help).
How do I make this spider look “spooky” but not scary?
Use fun colours like purple or orange, and draw a smiling spider face. This makes it a spooky craft for toddlers without frightening them.
Final Thoughts on Handprint Spider Craft
There’s something special about sitting down with your child and creating a simple handprint spider craft. These projects aren’t just about paper, scissors, and glue; they’re about slowing down, laughing together, and giving your toddler the chance to be proud of their own “spooky” masterpiece. The best part? Every tiny handprint becomes a keepsake you’ll look back on when those little hands aren’t so little anymore.
If your toddler enjoyed this handprint spider craft activity, you can keep the fun going with other seasonal crafts like our collections of Spooky Halloween Activities or collections of monster craft activities for a full October collection. Trust me—these crafts aren’t just fun, they turn into sweet traditions that make holidays feel magical year after year.
Check out more handprint craft ideas:
- Flamingo handprint craft
- Octopus handprint craft
- Ice cream handprint craft
- Bat handprint craft
- Turkey handprint craft
- Butterfly handprint craft
- Sun handprint craft
- Elephant handprint craft
- Zebra handprint craft
- Giraffe handprint craft
For more insect activities for toddlers, enjoy:


